Acaia Lunar (v1)

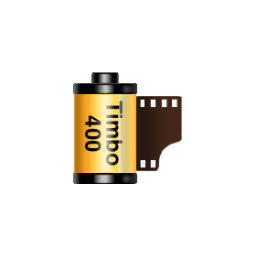
The Acaia Lunar espresso scale was one of my favourite espresso tools back in the day when I was pulling shots daily, but over the years I was hitting the dreaded _H20_ error nearly daily.
This error appears when the scale's capacitive screen detects any trace of water on it and then deactivates the capacitive functions which is fine if there was actually water on it, but it would trigger in the later years by me just looking at it.
After some digging online, I found that the issue is sometimes caused by an aging battery / voltage sag and the sensor sends back a false positive. So I thought I'd fix it and address another thing:
- Fix & Replace the aging LiPo battery (it is already 10 years old!)
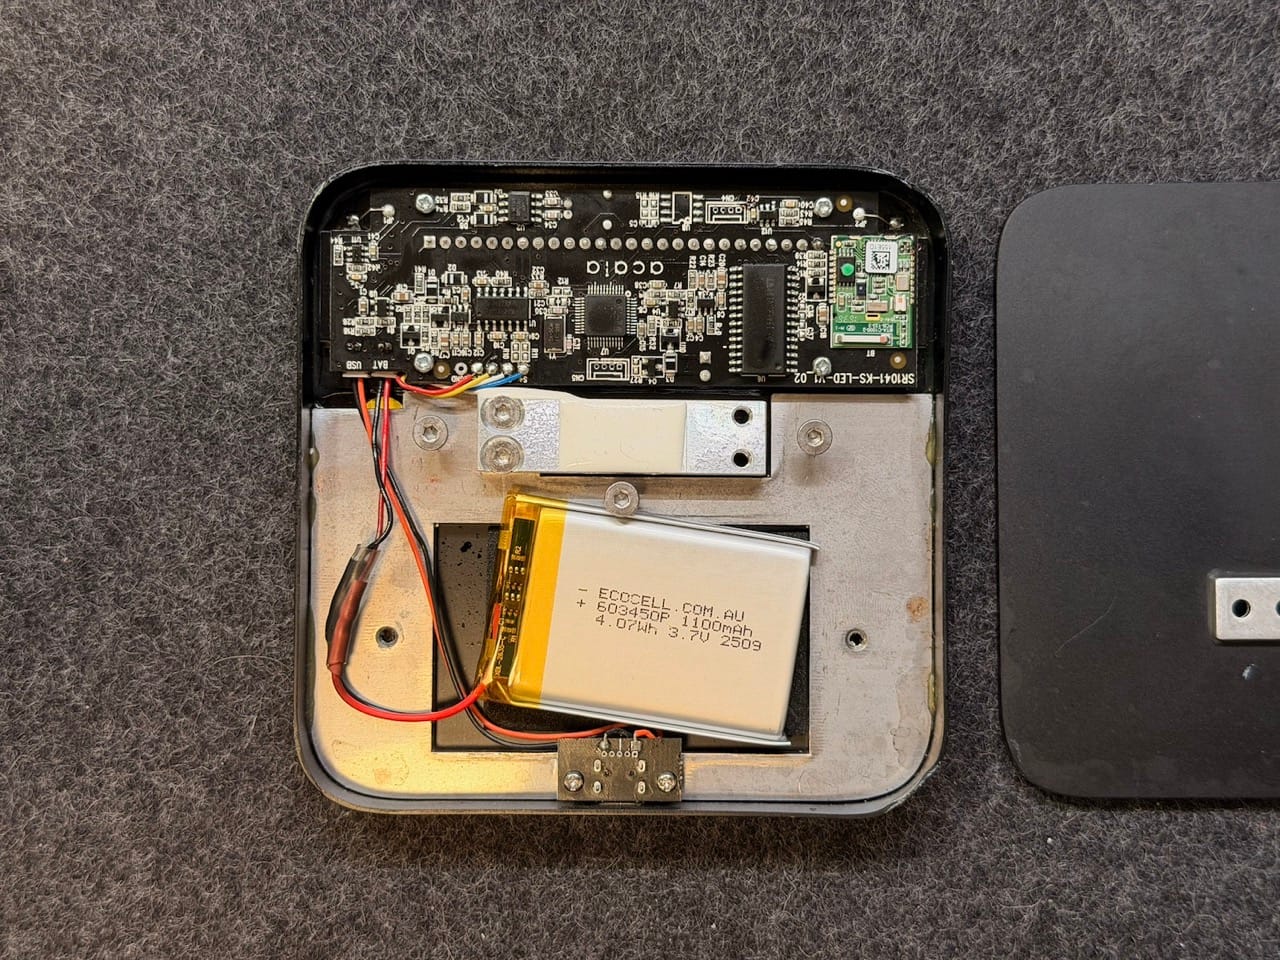
- I replaced it with a LiPo Battery 1100mAh 3.7V 603450, if you look for this battery, get it with a JST 1.25mm 2Pin to for-go the need to replace the connector.
- Address the lack of water resistance: Give the PCB a lacquer to water proof the unit (it sits on my drip tray)
Battery Replacement Process
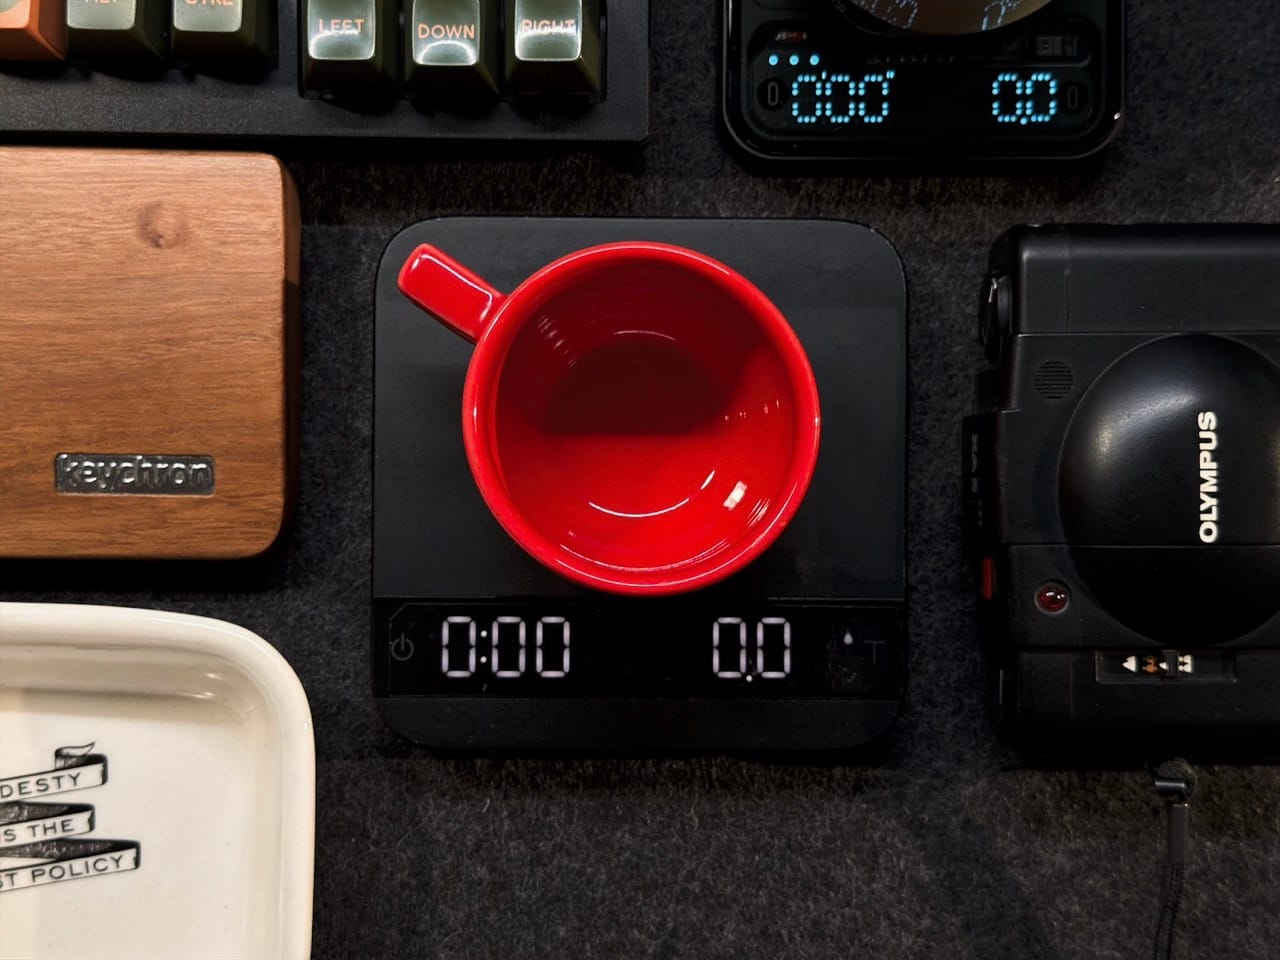
- Flip your Acaia Lunar, and remove the rear plate by using a 25mm torx or hex driver on the screws on the back plate.
You'll need to apply some torque and hold the unit down, at least on my unit
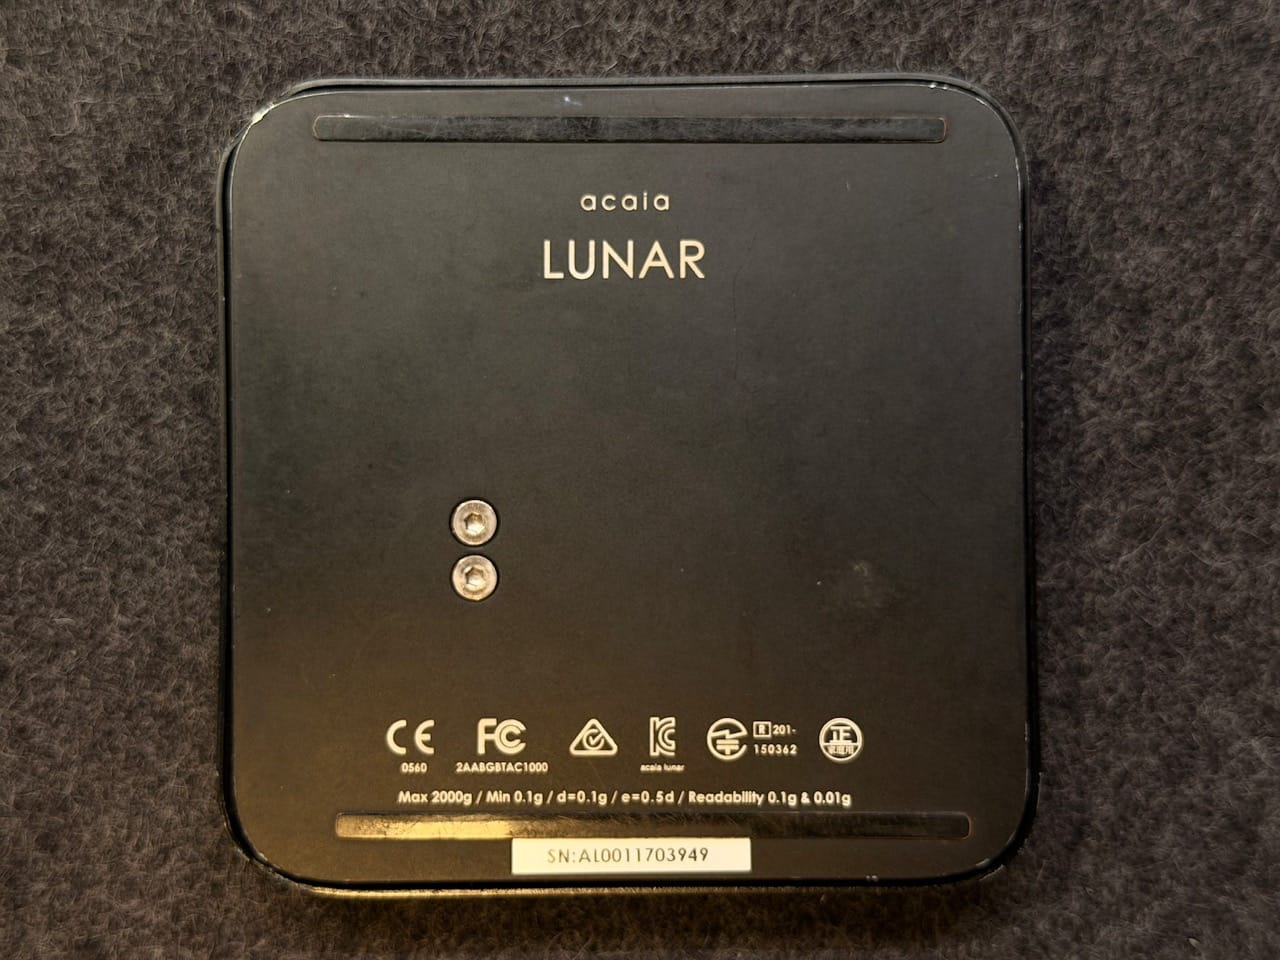
- The battery is held in using metal tape with screws (not pictured). My unit's metal tape was broken for whatever reason. Remove the 2x philips screws holding the metal tape down and use tweezers to remove the old LiPo battery from the PCB where it says BAT. The old battery should now be free.
- I took this opportunity that the battery was disconnected to make the PCB a little more water resistant. I sprayed some PCB electronic lacquer to the board and proceeded to the next step while it was drying.
- My replacement battery (LiPo Battery 1100mAh 3.7V 603450) was the same capacity but came with a different JST Connector. The original is a JST 1.25mm 2pin and the replacement came with a JST-PH 2mm 2pin, I was required to cut, splice and solder before I could install the new battery in.
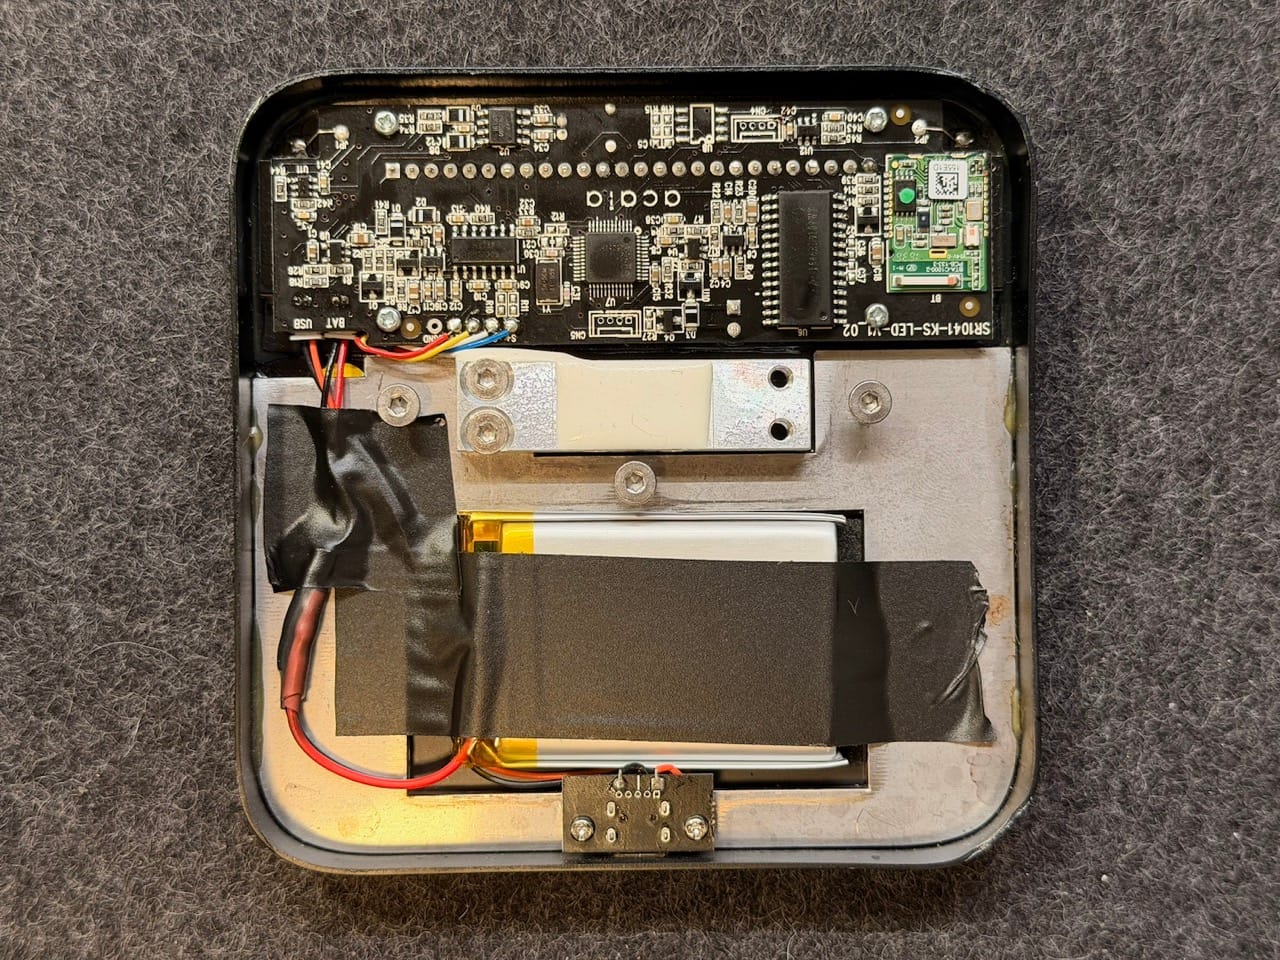
I added some heat shrink to cover the exposed re-soldered wires and tried to keep the cable length the same during this process.
- After plugging it back in using tweezers, I added some electrical tape across the battery and screw holes and taped down the USB / BAT wires also just in case it interfered with the weighing process.
- Re-assembly is running through the previous steps backwards. Re-tightening the backplate hex screws may need some slow adjusting to ensure the rear plate is relatively aligned.
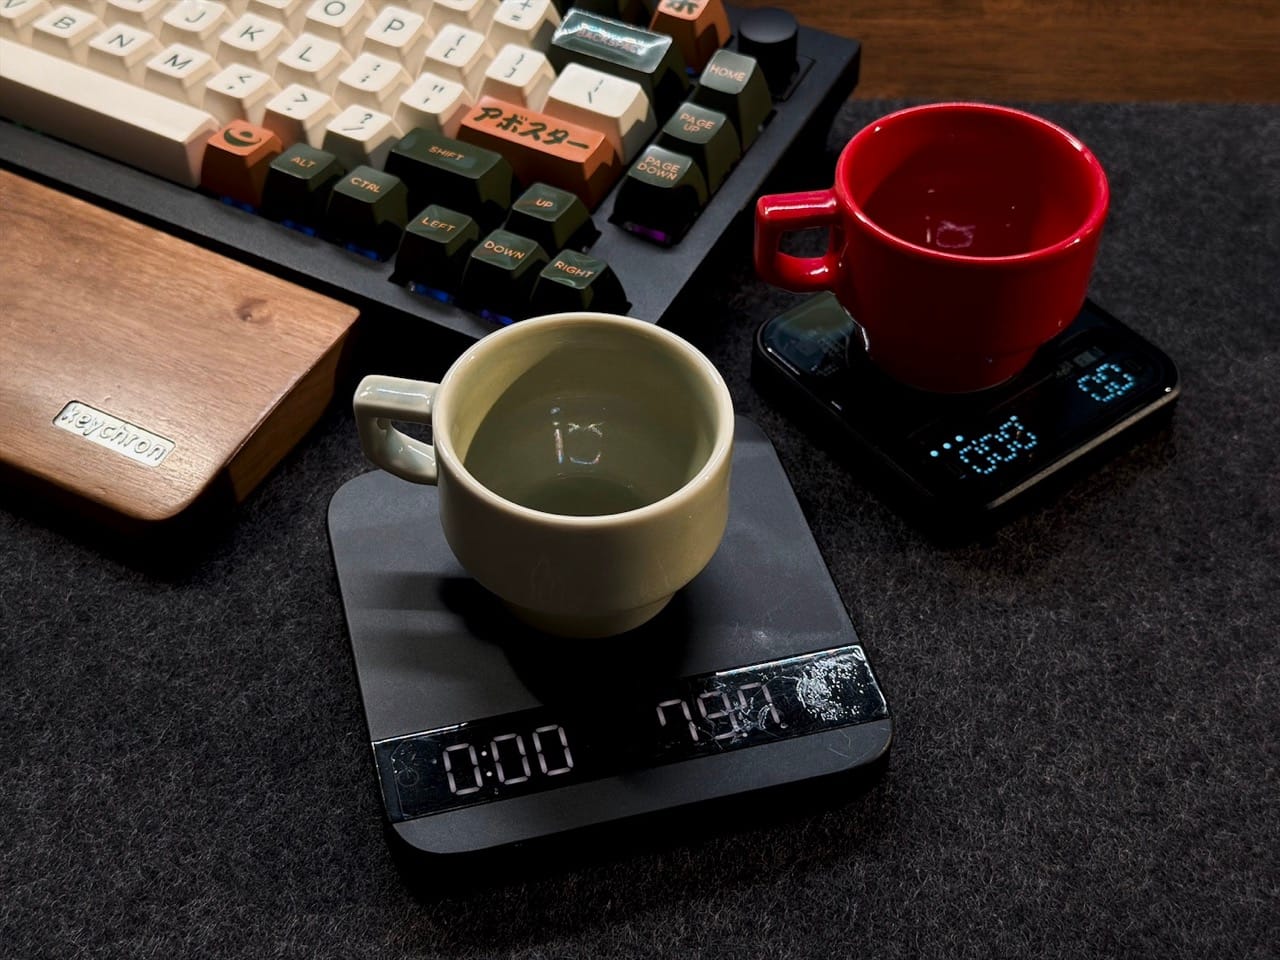
- Once fully assembled, give the unit a power on and a general test.
My unit powered on without issues! Mission success!
Conclusion
Awesome, I don't have to try to flog or bin this overpriced coffee espresso scale! I love the form and function but wish for the price at the time (and now!) that it could've been a little more future proofed.
Acaia have since released the USB-C version of this and I hope they've added lacquer to their PCBs so we don't have to buy accessories to make it 'water resistant', considering this unit generally lives under the Espresso machines' grouphead.
I think my future tinkering with this unit is to replace the USB Micro port to USB-C and remove some dents to the top plate. I've since added the Bookoo Themis Mini scale to my arsenal which I highly recommend as an espresso scale based on all the above problems which are ironed out in Bookoo's take on mini-espresso scales.


Member discussion